

First, understand your camera and exposure basics. Then, learn how to compose a great photo. After mastering these skills, it’s time to learn a few photo editing essentials. These essentials will help you put the finishing touches on your artistic vision.
Here are some advanced techniques for retouching portraits in professional photo editing:


Advanced Retouching Techniques in Photoshop
- Frequency Separation:
- Concept: This technique is a game-changer for portrait retouching. It allows you to smooth skin without making it look artificial or losing important details like texture and pores. It works by separating the image into two layers. One layer is a high-frequency layer that contains fine details, such as texture, wrinkles, and blemishes. The other layer is a low-frequency layer that contains the color and tone. This separation allows you to retouch each aspect independently.
- Photoshop How-To:
- Duplicate your image layer twice (Layer > Duplicate Layer). Name the top layer “Texture” and the one below it “Color.”
- Select the “Color” layer. Go to Filter > Blur > Gaussian Blur. Choose a radius that will blur out the skin texture. Ensure it retains details like eyes and lips. A radius of around 5-10 pixels usually works well.
- Select the “Texture” layer. Go to Image > Apply Image. Set Layer to “Color,” Blending to “Subtract,” Scale to “2,” and Offset to “128.” Change the blending mode of the “Texture” layer to “Linear Light.”
- Now, retouch the “Color” layer using the Healing Brush or Clone Stamp tool to smooth skin. Retouch the “Texture” layer to remove blemishes or imperfections.
- Dodge and Burn:
- Concept: This is a classic retouching technique that mimics a traditional darkroom process. It involves selectively lightening (dodging) and darkening (burning) areas of an image to create contrast, shape, and dimension. Imagine sculpting with light and shadow. You can enhance cheekbones, define jawlines, and even out skin tone with this method.
- Photoshop How-To:
- Create a new layer (Layer > New > Layer) and set its blending mode to “Overlay.” Fill it with 50% gray (Edit > Fill).
- Select the Dodge tool (O) to lighten areas or the Burn tool (O) to darken. Use a low opacity (around 5-10%) and a soft brush.
- Dodge highlights like cheekbones, nose bridge, and brow bone. Burn shadows under the cheekbones, jawline, and around the eyes.
- Curves and Levels:
- Concept: These are powerful tools for adjusting the tonal range of an image. Curves allow for fine-grained control over specific tonal values, letting you brighten highlights, deepen shadows, and adjust mid-tones with precision. Levels offer a more straightforward approach. They allow you to adjust the overall brightness and contrast of an image. You do this by manipulating the black point, white point, and midtones.
- Photoshop How-To:
- Go to Layer > New Adjustment Layer > Curves or Levels.
- For Curves, adjust the curve to brighten or darken specific tonal ranges. For Levels, adjust the sliders to control the shadows, mid tones, and highlights.
- Color Grading:
- Concept: Color grading goes beyond basic color correction. It’s about creatively manipulating the colors in an image to evoke a specific mood, style, or atmosphere. Think of it as adding a filter to your photo but with much more control and nuance. You can use color grading to enhance skin tones, create a vintage look, or give your image a cinematic feel.
- Photoshop How-To:
- Use adjustment layers like Color Balance, Hue/Saturation, or Selective Color to fine-tune the colors.
- Experiment with different color combinations to achieve the desired look.
- Hair Retouching:
- Concept: This technique involves refining the hair to remove distractions, add shine, and create a more polished look. You can remove flyaway hairs, smooth out frizz, enhance highlights, and even change the hair color if needed.
- Photoshop How-To:
- Use the Clone Stamp tool or Healing Brush to remove stray hairs.
- Use the Smudge tool to smooth flyaways.
- Create a new layer and set it to “Overlay” to dodge and burn highlights and shadows in the hair.
- Eyebrow and Eyelash Enhancement:
- Concept: This is a subtle but effective way to enhance the eyes and make them more expressive. By darkening and defining the eyebrows and eyelashes, you can create a more dramatic and captivating look.
- Photoshop How-To:
- Use the Burn tool to darken and define the eyebrows and eyelashes.
- Use the Dodge tool to add highlights and create a more dramatic look.
- Texture Overlay:
- Concept: This technique adds depth and realism to the skin by incorporating subtle textures. It can help create a more natural look. It also gives a three-dimensional appearance. This is especially useful when dealing with overly smooth skin that can sometimes result from retouching.
- Photoshop How-To:
- Find a texture image (e.g., a photo of concrete or fabric).
- Place the texture layer over your portrait and change its blending mode to “Overlay” or “Soft Light.”
- Adjust the opacity to control the intensity of the texture.
- Custom Brushes:
- Concept: Photoshop’s brush engine is incredibly versatile. By creating custom brushes, you can achieve unique effects and apply them with precision. This is very helpful for retouching skin, hair, and other fine details. You can customize the brush to meet your specific needs.
- Photoshop How-To:
- Select the Brush tool (B).
- Define a new brush preset (Edit > Define Brush Preset) from a selection or an existing brush.
- Adjust the brush settings (size, hardness, spacing, etc.) to create the desired effect.
- Facial Contouring:
- Concept: Just like makeup contouring, this technique uses light and shadow to sculpt the face and enhance its natural structure. You can create the illusion of higher cheekbones. This also helps in achieving a slimmer face and a more defined jawline. You do this by strategically lightening and darkening specific areas.
- Photoshop How-To:
- Use the Dodge and Burn technique (as described above) to highlight cheekbones, jawline, and other facial features.
- Use the Liquify tool (Filter > Liquify) to subtly reshape the face if needed.
- Noise Reduction and Sharpening:
- Concept: These are essential tools for improving the overall quality of an image. Noise reduction helps to eliminate grain or artifacts that can appear in photos, especially those taken in low light. Sharpening enhances details and makes the image appear crisper.
- Photoshop How-To:
- For noise reduction, go to Filter > Noise > Reduce Noise.
- For sharpening, go to Filter > Sharpen > Unsharp Mask.
From Photography to Abstract Art: A Creative Evolution
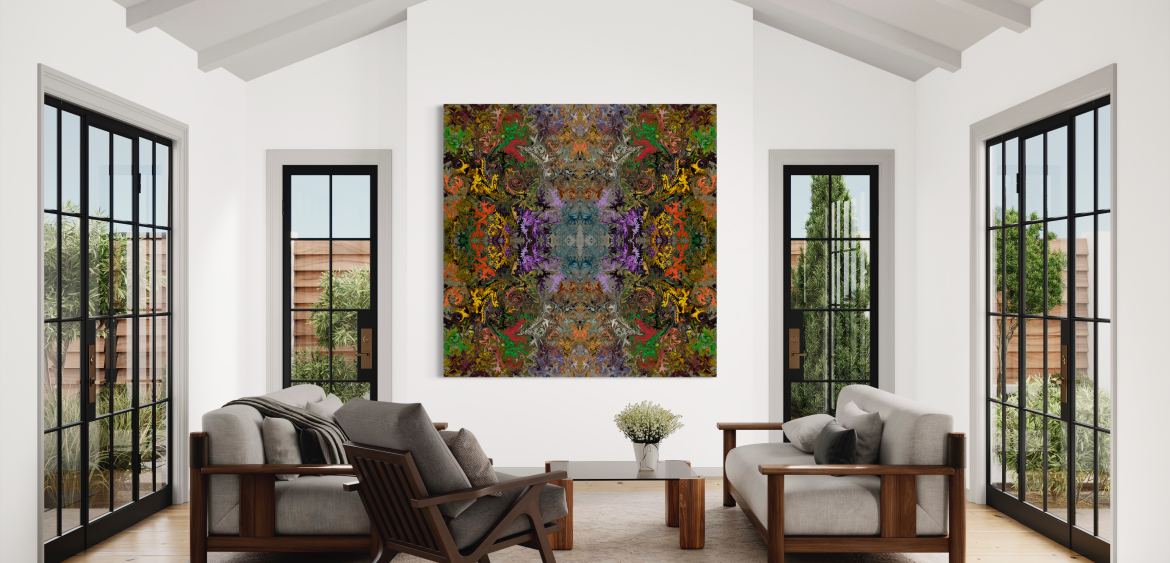
John Dowling’s artistic journey exemplifies the transformative power of digital tools. His “A Miracle In the Making Collection and American Graffiti Collection” is born from years of photo editing experience. This showcases his ability to push the boundaries of photography. It also creates stunning abstract compositions. He masterfully blends and manipulates images, creating intricate layers of color, texture, and form. This collection is a testament to his innovative spirit and his dedication to exploring new artistic frontiers.
By mastering the art of photo editing, photographers can unlock a world of creative possibilities. Artists can enhance a portrait. They can create a surreal landscape. Transforming a photograph into an abstract masterpiece is also possible. The tools and techniques of digital editing empower them to express their vision in new and exciting ways.


1 Comments: